Brother QL-820NWB via Bluetooth
The following steps will guide you to connect the GoBright visitor registration kiosk to a Brother QL-820NWB printer via Bluetooth.
Please note: you will need a Brother QL-820NWB printer and any of the supported labels.
Step 1: Initial configuration of the Brother QL-820NWB printer
- Unbox the Brother QL-820NWB printer from the box.
- Unbox one of the Brother labels.
- Insert a Brother label into the Brother QL-820NWB printer.
- Power the printer via the poweradapter.
- Use the [▲], [▼] and [OK] buttons to set language, date and time.
- Change settings to not automatically power off:
- Press [Menu] to enter the settings »
- The display shows ‘Settings’ and press [OK] »
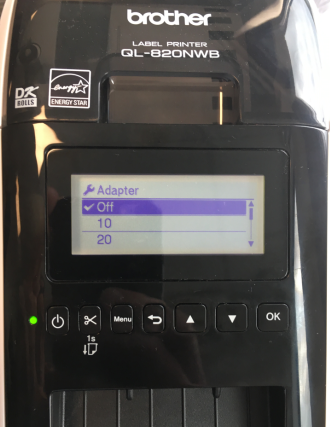
- Go to option ‘Auto Power Off’ with the [▲][▼] buttons and press [OK] »
- Option ‘Adapter’ is selected, press [OK] »
- Choose option ‘Off’ with the [▲][▼] buttons and press [OK]
- Change settings to turn off template mode:
- Press [Menu] to enter the settings »
- Go to option ‘Template Settings’ with the [▲][▼] buttons and press [OK] »
- Option ‘Template Mode’ is selected, press [OK] »
- Choose option ‘Off’ with the [▲][▼] buttons and press [OK]
Step 2: Enable Bluetooth on the Brother QL-820NWB printer
- The Bluetooth connection needs to be enabled on the printer:
- Press [Menu] to enter the settings »
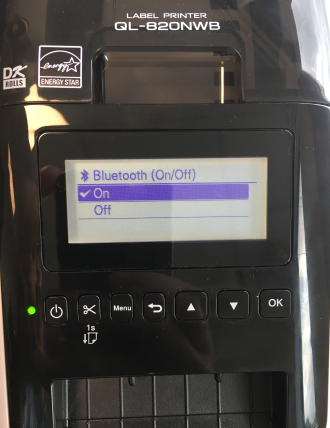
- Go to option ‘Bluetooth’ with the [▲][▼] buttons and press [OK] »
- Option ‘Bluetooth (On/Off)’ is selected, press [OK] »
- Choose option ‘On’ with the [▲][▼] buttons and press [OK]
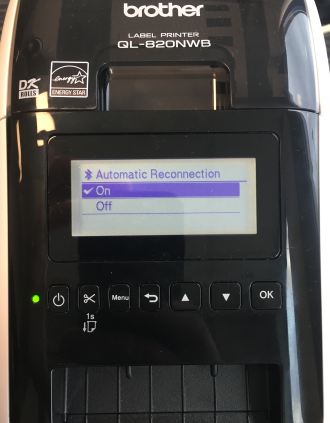
- Next, enable Automatic Reconnection for Bluetooth:
- Go to option ‘Bluetooth’ with the [▲][▼] buttons and press [OK] »
- Go to option ‘Automatic Reconnection’ with the [▲][▼] buttons and press [OK] »
- Choose option ‘On’ with the [▲][▼] buttons and press [OK]
Step 3: Pair the display with the Brother QL-820NWB printer
- Open the Android settings on the display (read: how to exit kiosk mode)
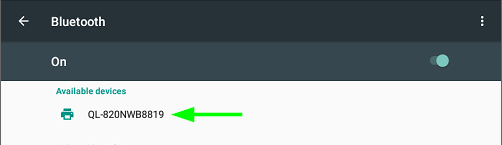
- Go to Bluetooth settings:
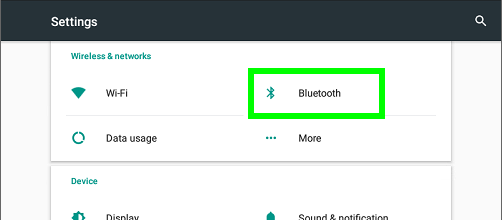
- Enable Bluetooth, and choose the printer, for example:
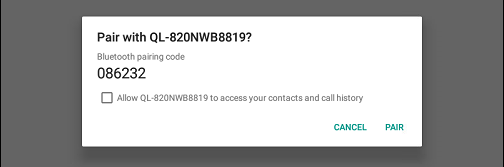
- When you choose the printer, it will show the following dialog, choose ‘PAIR’:
Step 4: Shutdown the Brother QL-820NWB printer with the power button
- To make sure the printer saves the settings it is important to gracefully shutdown the printer.
- Press and hold the power button at the left, and wait for the LED to go red, and then the printer will turn off. This will result in the printer saving it’s settings.
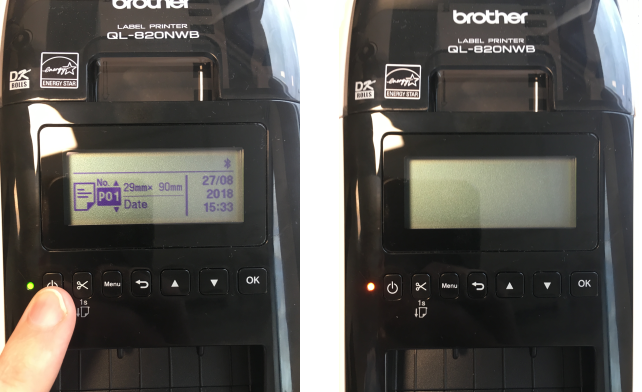
- Turn the printer back on by pressing the power button at the left
Step 5: Configure the GoBright visitor registration kiosk
- Open the GoBright device app on the display if it is not open already
- Enter the settings of the app (read: how to exit kiosk mode)
- Scroll down to the ‘PRINTER’ section, and press ‘Configuration’, the a popup window will open
- Choose ‘CHANGE’
- Choose ‘Bluetooth (Brother QL-820NWB)’
- The already paired printer (as paired in step 3 of this guide) will be visible in the popup, in most cases it will just one printer shown
- Select the applicable printer
- Select the applicable label (note that the GoBright App version 6.0 or higher is required to configure labels and orientiation)

- Select the correct orientation
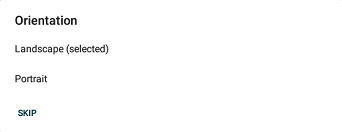
- Configuration will be saved
- Press ‘TEST’ to print a test badge
Step 6: Happy badge printing!
Now you are ready to let your visitors wear their badges with pride!