Configuring a Ticker
The Ticker Widget can display text or RSS messages on your signage display. A ticker can overlay your normal content. After following this guide you’ll know how to set up the ticker widget.
The Ticker widget must be configured in it’s own zone and playlist. This widget should not be placed in regular templates. This article will help you through all the steps.
Configuring the zone
First, we’ll need to configure a zone and resolution for the ticker. The zone has it’s own size and place on screen.
- Log in to View and go to Management
- Go to Zones
- If there is no ticker zone present yet, Add a new zone using the Add button and name it Ticker
- Go to Resolutions
- Click Add
- Name this resolution Ticker
- Set it to the resolution you want. For example: 1920px width, 100px height
- Click Save
- Go to Channels & Layouts
- Click on the channel on which you want to display the ticker.
This can be the Default channel or a separate channel. Learn more about channels. Note that the player needs to be set (with the remote or a keyboard) on the channel with the ticker zone, otherwise the ticker is not visible.- In the General tab under Resolutions, do not enable the Ticker resolution you’ve just made. Leave this on the Main zone or any other zone you do want to display. The ticker resolution is only used later on, in the template.
- At zones, select the Ticker zone. Do not enable “Screen on/off depending on schedule of this zone” for the ticker zone but only for the Main zone. This way, the screen will only turn on when content is scheduled in the Main zone.
- Open the Resolutions tab at the top.
Here you’ll see the the enabled resolutions and their layout - Set the position and size of the zones to your needs
We recommend to set the Main zone to full screen and the Ticker zone to overlay the bottom part of the screen. For example: 1920px width, 100px height, starting at X 0 and Y 1820px. This will push the ticker zone to the bottom (1920-100=1820). You can check your settings in the preview on the right.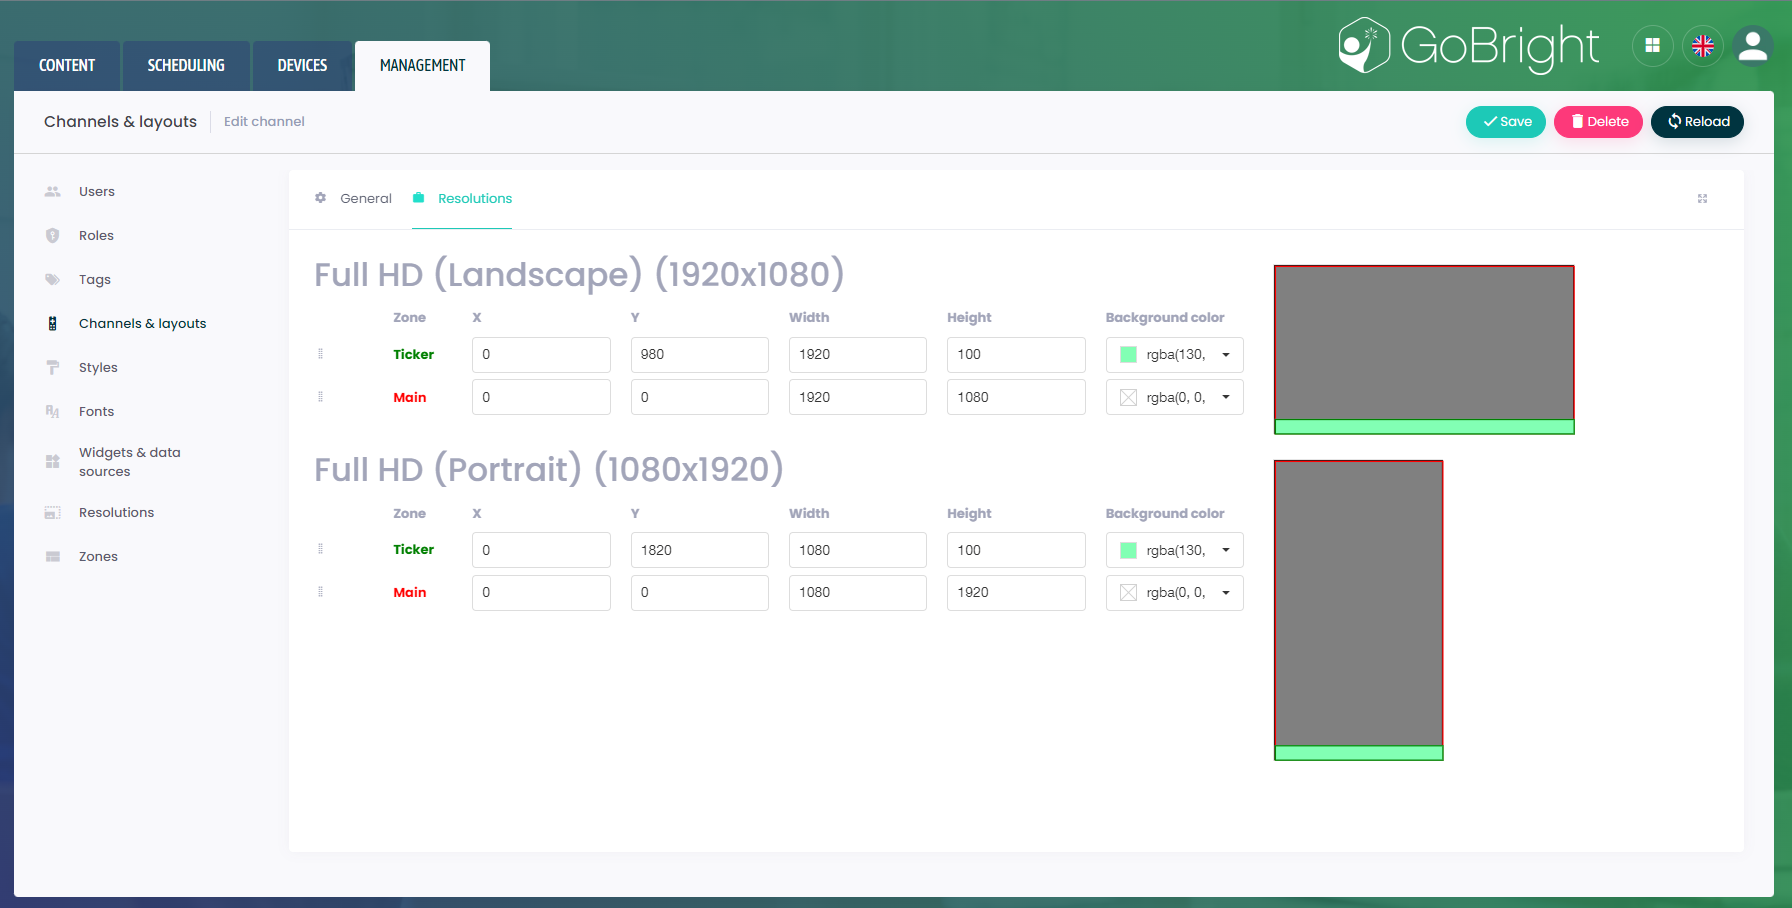
- Drag the Ticker zone above the other zones using the :: markers on the left
- Repeat this for all the resolutions
- Click Save
Because we’ve changed the configuration, the new configuration needs to be send to the players.
- Go to Devices
- Click Update configuration
- Click Update
The players will load the new configuration. Now we can continue configuring the ticker.
Now it’s time to set up the Ticker
We recommend to set this up as a template for easy (re)use.
- Go to Content > Templates > Browse All
- Click Add template
- Give it a name, for example: Ticker
- Select the ‘Empty’ preset
- Click Save
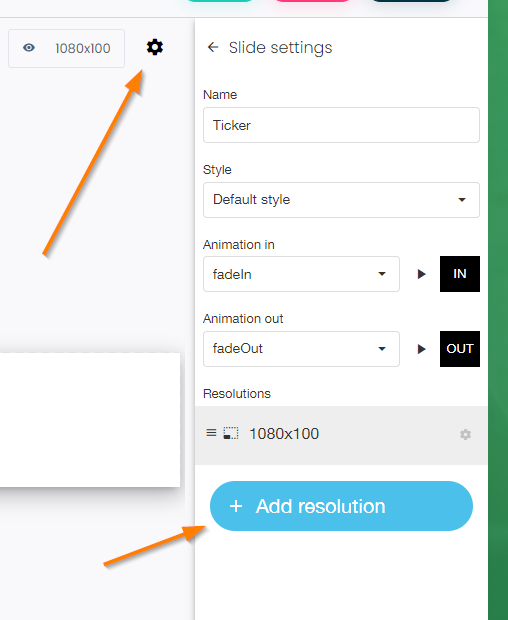
The template will open with the default 1920×1080 resolution - Click the Cog/Gear icon
Under Resolutions, click the + Add button- Resolutions of defined zones of channels: choose the resolution you’ve made (1920×100)
- Copy settings from existing resolution: leave empty
- Width: 1080 (should be prefilled)
- Height: 100 (should be prefilled)
- Color: rgba(0,0,0,0) (prefilled)
Note that this is actually transparent. We’ll set the background color of the ticker later, in the ticker widget. - Gradient: none
- Image: none
- Click Add
- Click the Bin icon to remove the 1920×1080 resolution and Confirm so only the ticker resolution exist. Now the preview will show the ticker dimensions
- Click in the preview window
- Click the Add button on the right to add a widget
- Click Custom Widget
- Select Ticker and click Done
You’ll see the playtime of this widget is set to auto, just like the video widget. The ticker will determine it’s own duration.
- With the Ticker Widget selected in the preview:
- Click Layer
- Click Switch to percentages
- Fill in: X 0, Y 0, width: 100, height: 100
The ticker is now the same size as it’s zone.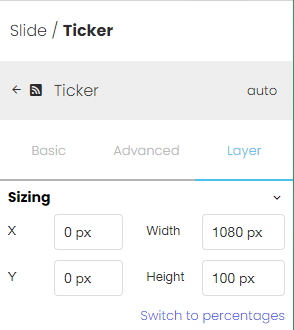
- Click the Basic tab
- Set the parameters to your need. For example by using a RSS feed.
Also font color, font size, background color and various other option can be set here - Set Text Visible Time (ms) parameter, this is the time each message will be visible for.
- Set the parameters to your need. For example by using a RSS feed.
- Click save when you are done
Creating a Ticker playlist
Because the ticker plays in it’s own zone, it also need it’s own playlist.
- Go to Scheduling
- Click Add to add a new playlist
- Give the playlist a descriptive name, like Ticker
- Play on channels: select the channel(s) where you’ve enabled the ticker zone earlier
- Play in zone: select the ticker zone you’ve made earlier
If the ticker zone doesn’t show up in the dropdown list, make sure you’ve selected the right channel(s).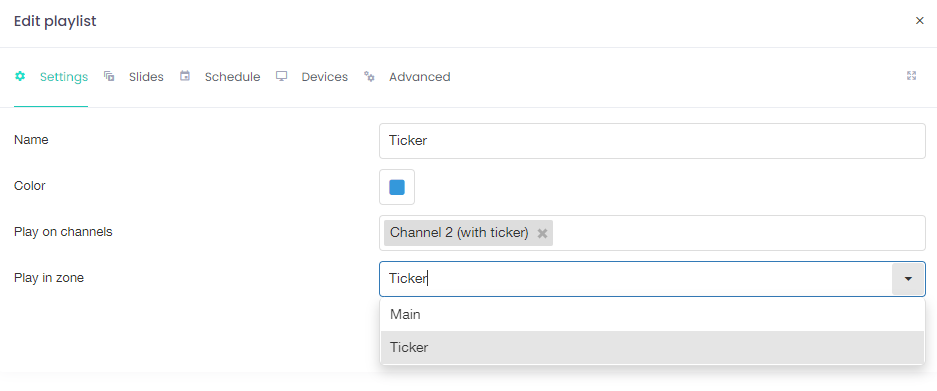
- Go to the Slides tab
- Click add
- Choose template
- Select the ticker template and click Done
Optionally you can make some changes here, otherwise - Click Update
The slide is now added to the playlist
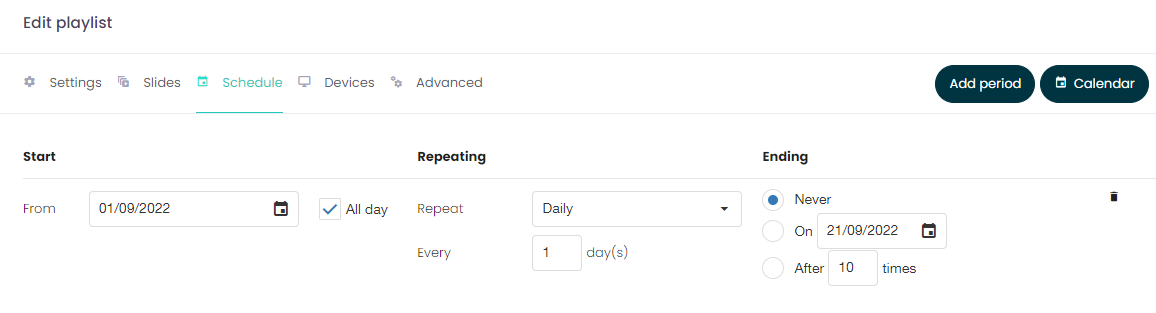
- Go to the Schedule tab
- You can select ‘All day’, because the planning of the Main zone determines if a screen will turn on or off. The ticker zone doesn’t.
- Set Repeating to Daily
- Set Ending to never
- Go to the Devices tab
- Select the device(s) on which the Ticker should be displayed
- Skip the Advanced tab and click Update
Send the playlist to the player(s)
As always the (new) content needs to be send to the player(s).
- Go to Scheduling
- Click the Update content button in the top right
- Click Update
In a bit the ticker should now be visible on the player(s).
What if the ticker won’t show?
- Check if the player is set to channel on which you’ve enabled the ticker zone. You can set the channel using the remote or using a keyboard by pressing 1 – 9. Learn more about channels.
- Make sure the configuration and content are both updated
- Go to Devices
- Click Update configuration
- Click Show pending updates and check if the player(s) successfully received the configuration update
- Just to make sure, click Update to send it (again)
- Go to Schedule
- Click Update content
- Click Show pending updates and check if the player(s) successfully received the configuration update
- Just to make sure, click Update to send it (again)
- Go to Devices
- Make sure the ticker zone is configured correctly
- Go to Management
- Click Channels & layouts
- Select the channel
- Go to Resolutions
- Check the position and order
- Click Save if you’ve made any changes and don’t forget to Update the configuration (via the Devices tab)