Configuring RF sensors
Supported RF sensors
GoBright can collaborate with multiple types of sensors that can either gather data regarding the occupancy with GoBright to display availability. RF sensors are easy to install sensors, which do wireless communication to a gateway. There are two types of RF sensors currently being used the PIR Room sensor and the occupancy sensor.
| Sensor | Desk occupancy sensor (RFDOS1) | Room occupancy sensor (RFROS1) |
 |
 |
|
| Placement | Mounted under the desk
|
Mounted in the room, on the ceiling or wall |
| Power source | Battery powered | Battery powered |
| Data transmission | Wireless (RF) | Wireless (RF) |
Desk occupancy sensor (RFDOS1)
This sensor is placed under the desk and will measure the occupancy rate and no-show detection when someone sits or stands in front of the desk. It detects movement and thermal measurement. In an office environment, this sensor would be placed under the desk, at a team table, reception desk, etc. Any location occupied by a person.
The sensor is either directly connected to the Connect for power (black sensor) or uses three AAA batteries (white sensor). Because the sensor is continually monitoring the occupation the data provides fact-based proof of occupancy over long periods of time supporting changes within the workplace by identifying those occupants with high levels of mobility.
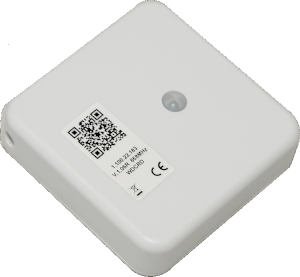
Room occupancy sensor (RFROS1)
A sensor with more depth and range to detect movement in a larger area than the occupancy sensor. It measures the occupancy rate and no-show detection when one or more people use the room. Depending on the room size, multiple sensors might need to be placed to cover the entire space.
When detecting movement, the PIR sensor will immediately send out the ‘occupied’ signal. To minimize the effect of people doing only small movements or sitting extremely still, the sensor will go to ‘Unoccupied’ after approximately 13 minutes of no detected movement. This way the measurements are reliable because people will move at least every 10 minutes.
How it works

- The Sensor detects movement and sends a signal towards the RF Mini Antenna
- The RF Mini Antenna is connected via USB to the Gateway
- The Gateway sends the data towards the GoBright Portal
- The GoBright Portal sends the appropriate action towards the display or device
The sensor only sends information when the state changes, so if the state is ‘unoccupied’ it does not send information when it stays unoccupied. That means as long as the sensor detects occupancy within an area it will send ‘occupied’ once to the gateway. When the sensor no longer detects any occupancy it sends ‘unoccupied’ once until it detects occupancy.
Sensor & receiver installation
Please review the ‘Sensor Hardware Setup‘ article for more information on installation of the sensoring hardware.
Prerequisites
Before configuring any sensors make sure that they are enabled. Log in to the GoBright portal with your manager account, and choose Settings > General Settings. Scroll down to the ‘Sensors’ heading on the bottom of the page:
Please check with your reseller or dealer whether you own a license for RF sensors. If RF sensors are disabled or the heading is not being displayed in the portal please contact our support desk.
Configure the RF sensors
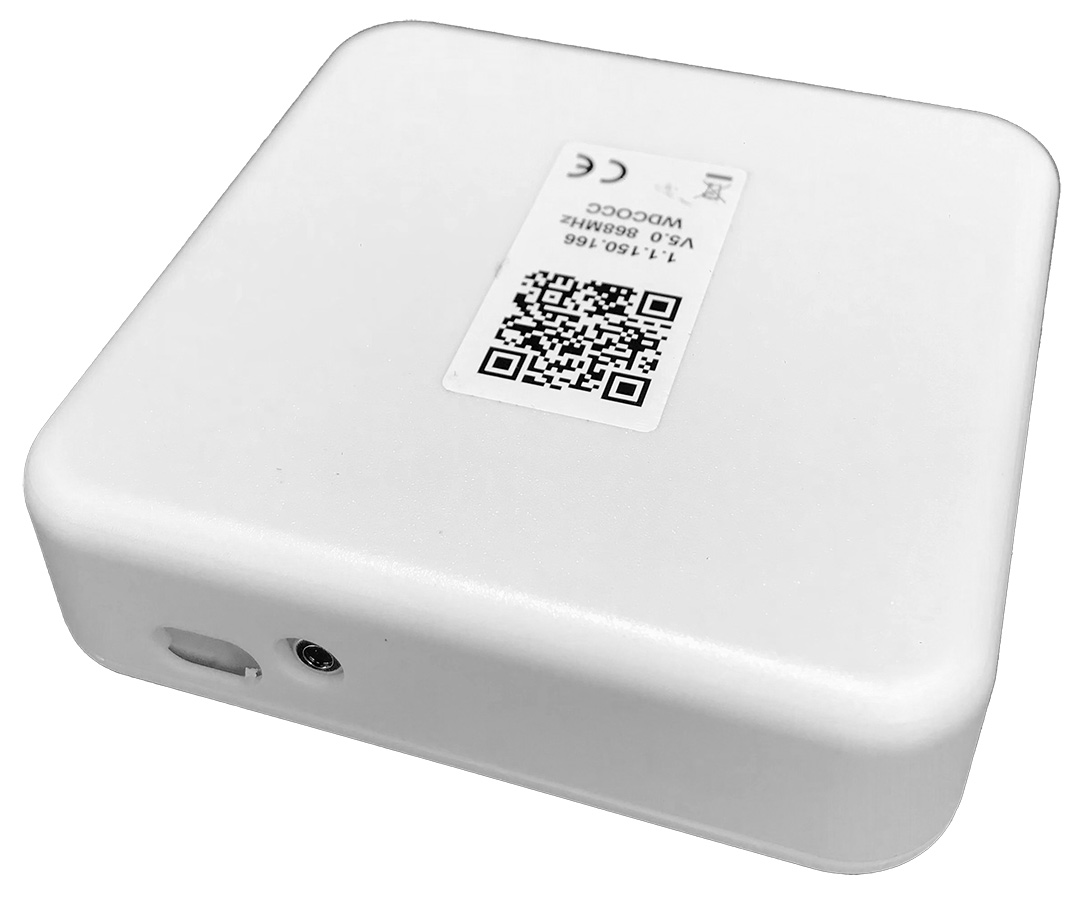
Each RF sensor has a ‘unique ID’ that can be found on the backside of the casing. This will let the gateway know which signal belongs to which sensor and in turn which room or desk is linked to that specific sensor.
To create a new sensor:
- Log in to the GoBright portal with your manager account, and choose Settings > Sensors & Connects
- Now add a new sensor with the ‘+’ button, or select an existing one to edit
- Select the room or desk where the sensor is (going to be) placed
- Select ‘RF’ for type and ‘Occupancy sensor’ as a device
- Enter the ‘Unique Id’ and press ‘save’ to add the sensor
Note: After adding a sensor it can take a couple of minutes before it’s status is visible within the portal
Monitoring the RF sensors
In the overview ‘Sensors & Connects’ the battery level, an indication of the signal strength, and the moment of last communication are being displayed. This gives a quick overview and status update of all installed sensors.
Receiving the RF signal via the gateway
The GoBright Gateway can receive the RF signal via the Mini RF Receiver:
| Brand | Model | Purpose | Connectivity |
|---|---|---|---|
| GoBright | MGW101 DP06 & DP08 | Processing unit | Wired Ethernet |
| MINI RF Receiver | Receiving RF signal | USB to the processing unit |
Please refer to the ‘Installing a gateway‘ article for more details.