Configuring the Graph API (Excel, OneDrive)
In order to communicate with Excel 365, OneDrive, and other products that are part of Office 365, we’ll use the so-called Graph API to establish a connection with GoBright View. In the steps below you’ll find all requirements for configuration.
Keep in mind that these steps can only be performed by an Azure Admin.
How does GoBright access the file(s)?
GoBright View has access to the Excel file or image file(s) using a service account. The file(s) can either be shared with (1) the service account or owned by (2) the service account.
- A user creates a file or folder somewhere in their OneDrive and then give the service account access to that file or folder (detailed steps below).
- The file or folder can be created in the OneDrive of the service account itself.
Using a service account
Requirements
- An Office 365 admin account
- Rights to grant API permissions
- A Service account with OneDrive access
Within Azure
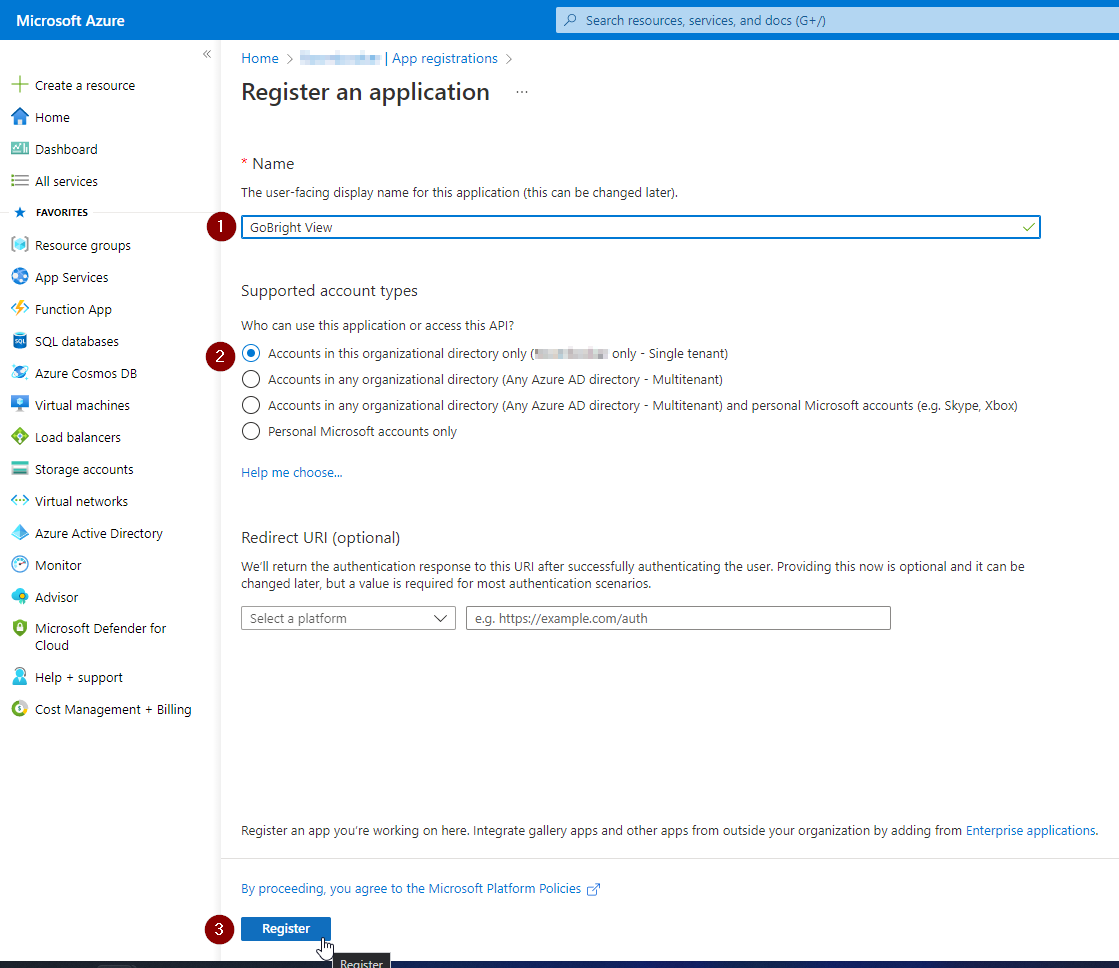
Register an application
- Go to portal.azure.com and log in with an admin account
- Go to Azure Active Directory
- Go to App registrations
- Click + New registration
- Give this application a name, for example: GoBright View
- Supported account types: Accounts in this organizational directory only (Single Tenant)
- Click Register
Create a Client Secret
- Open the app you’ve just registered
- Go to Certificated & secrets
- Go to Client secrets
- Click + New client secret
- Description – Give it a description
- Expires – set an expiration date
- Mark this date in your calendar and remember to renew the secret before it expires
- Write down the Secret Value as this is only displayed once. This value is needed within GoBright View later on. We do not need the Secret ID.
If you missed or forgot the Secret Value, delete this Client Secret and create a new one.
Set API permissions
- Open the app you’ve just created
- Go to API permissions
- Client + Add a permission
- Select Microsoft Graph
- Choose Delegated permissions
- Add these permissions:
- Directory.AccessAsUser.All (Delegated)
- Files.Read.All (Delegated)
- User.Read (Delegated)
- Click Grant admin consent for [Azure-Domain]
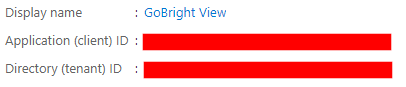
- Go to Overview
- Write down the Application (client) ID
- Write down the Directory (tenant) ID
Create a service account
- Go to Azure Active Directory
- Go to Users
- Click + New user and then + Create new user
- Select template – Create user
- Identity
- User name – for example: gobright-view@[Azure-Domain]
- Name – for example: GoBright View Service Account
- Password
- Choose auto-generate password or Let me create the password
- Write down the password
- Click Create
- Open the user
- Go to Licenses
- Click + Assignments
- Select Microsoft 365 Business Basic
This license includes OneDrive access which we need. - Click Save
- Select Microsoft 365 Business Basic
You should now have these pieces of information:
- Application (client) ID
- Directory (tenant) ID
- Client Secret Value
- Username of the service account
- Password of the service account
These were all steps that need to be performed by an Azure Admin. Please provide these credentials to the those who are continue to set this up. Refer to the following guides to continue:
Using app permissions (legacy)
As of late 2022 this is no longer supported. We have updatet the GoBright View widgets accordingly. If you are still using an older widget and want to migrate please contact our support team.
Requirements
- An Office 365 admin account
- Rights to grant API permissions
Within Azure
The following steps need to be taken to configure the Graph API:
Register an application
- https://portal.azure.com/#home
- Navigate to Azure Active Directory
- Press App registrations

- Create a New registration
- Enter a Name (e.g. GoBright View)
- Leave the other settings to default and press the Register button on the bottom
Set permissions
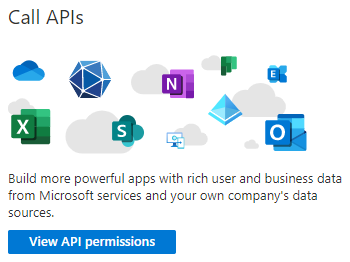
- Open the application and press the View API permissions button
- Press the Add a permission button and a new window will open
- Select Microsoft Graph when prompted for an API
- Set the type of permission to Application permissions
- A long list of permissions will be shown, depending on which applications you’ll be using the following permissions must be granted:
- APIConnectors.Read.All – Type: Application – For authentication
- Application.Read.All – Type: Application – For navigation
- Directory.Read.All – Type: Application – For navigation between different folders
- Files.Read.All – Type: Application – Used by OneDrive
- Reports.Read.All – Type: Application – Used by Excel
- Sites.Read.All – Type: Application – Used by SharePoint
Please make sure that permissions are granted as “Application” permissions.
- When the correct permissions have been added press the Grant admin consent button

Gather all information and create a Client secret
In order to connect with the application, GoBright View will need three pieces of information:
- Client ID: This can be found on the overview page
- Client Secret: Must be created within Certificates & secrets
- Tenant ID: This Can be found on the overview page
First, let’s copy the Client ID and Tenant ID from the Overview within the application. These can be found on the top of the page:
Next is the Client Secret Value, for this, we’ll need to head to Certificates & secrets.
The Client Secret consists of an ID and a Value, we’ll need the Value.
- Create a New client secret at the bottom of this page
- You can add a description (e.g. usage within GoBright View)
- Choose when the key expires (note: we recommend to set the expiry date to as far in the future as possible. Please also set a reminder to renew this key.
- When the Client secret has been created immediately copy and note the Secret Value as it will only be displayed once. If you didn’t get the Value, you can delete these steps to create a new one. We don’t need the Secret ID.
That is all the information we need, next, we can use this information within the GoBright Widget.