User configuration
Users are the people who have access to your GoBright environment. These include:
- regular users that are allowed to create bookings or act as a host for GoBright Visit
- managers who can control and edit bookings
- administrators who can control and edit bookings and change the system settings
The information from these users must be within the GoBright portal before they’ll be able to use the system. A user requires at least a name and an email address to be added. There are several ways to create and manage users, each with their own benefit and limitations:
- Manual, add, or edit users manually within the system
- Manual, import users using a CSV file
- Automatic, synchronize users from the Active Directory or Azure AD
- Automatic, synchronize users using SAML within Azure Premium P1
By adding users manually we have more control over how to handle each individual user. The downside is that managing large groups of users is prone to error and could potentially be a lot of work to manage.
Managing users automatically provides little control over each individual user but is less prone to error and is easy to manage. The set up does require access to either Active Directory / Azure AD or permission to create an enterprise application in Azure Premium 1 or higher.
We’ll describe four methods here below.
Add or edit users manually within the system
Log in to the GoBright portal with your manager account, and choose Settings > Users.
Now add a user with the ‘+’ button, or select an existing one to edit.
User configuration
Each user can be enabled/disabled and has a name to be shown in GoBright.
The email address is used as a username to log in.
Optionally the mobile phone number is used to send SMS notifications, which is optional in the digital reception module.
Optionally the user can be integrated, which means the integration will be used to authenticate.
If the user is not an integrated user, then a password should be set.
Optionally the pincode can be configured if the users do not manage their own pincode.
The ‘users manage their own pincode’ setting defines how many details are visible, please refer to the general settings.
Optionally the NFC Identification can be configured. Therefore NFC support should be enabled in the general settings. This will enable the NFC options, and enable the NFC Identification field when editing a user. The NFC Identification should contain the unique ID of the NFC card, in HEX format: XX:XX:XX:XX:XX:XX:XX .
Import users using a CSV file
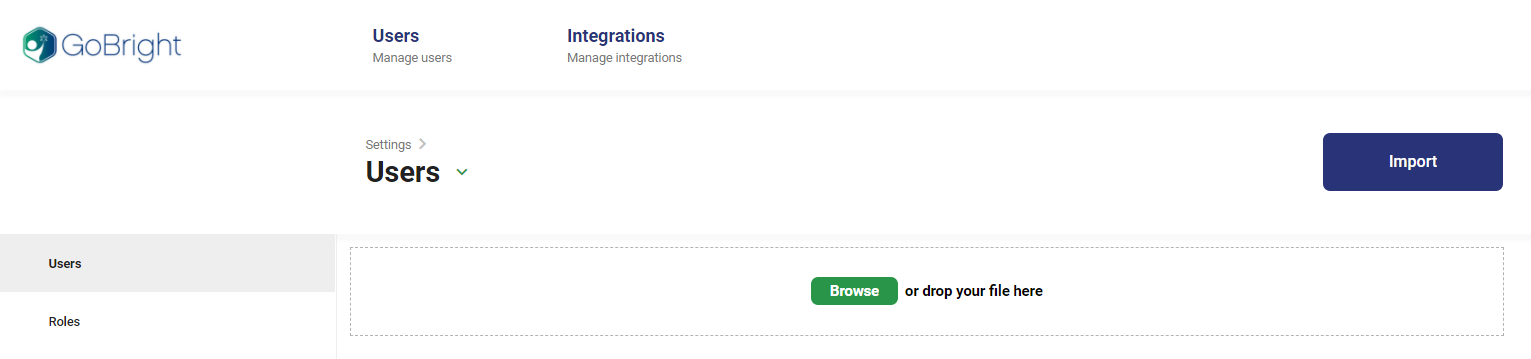
It’s possible to import a list of users by creating a *.csv file and uploading it to the GoBright portal. Within Admin Center > Users press the Browse button. Select the *.csv file to import and press the ‘Import’-button.
Prepare the *.csv file using the template provided here.
The following information can also be imported:
- EmailAddress
- Name
- TelephoneMobile
- Pincode
- AuthenticationUsername
- Active
- UniqueImportID
- DefaultCostCenterIdOrName
- NFCId
Note: the file needs to be saved as a CSV. An XLS(X) file will not work.
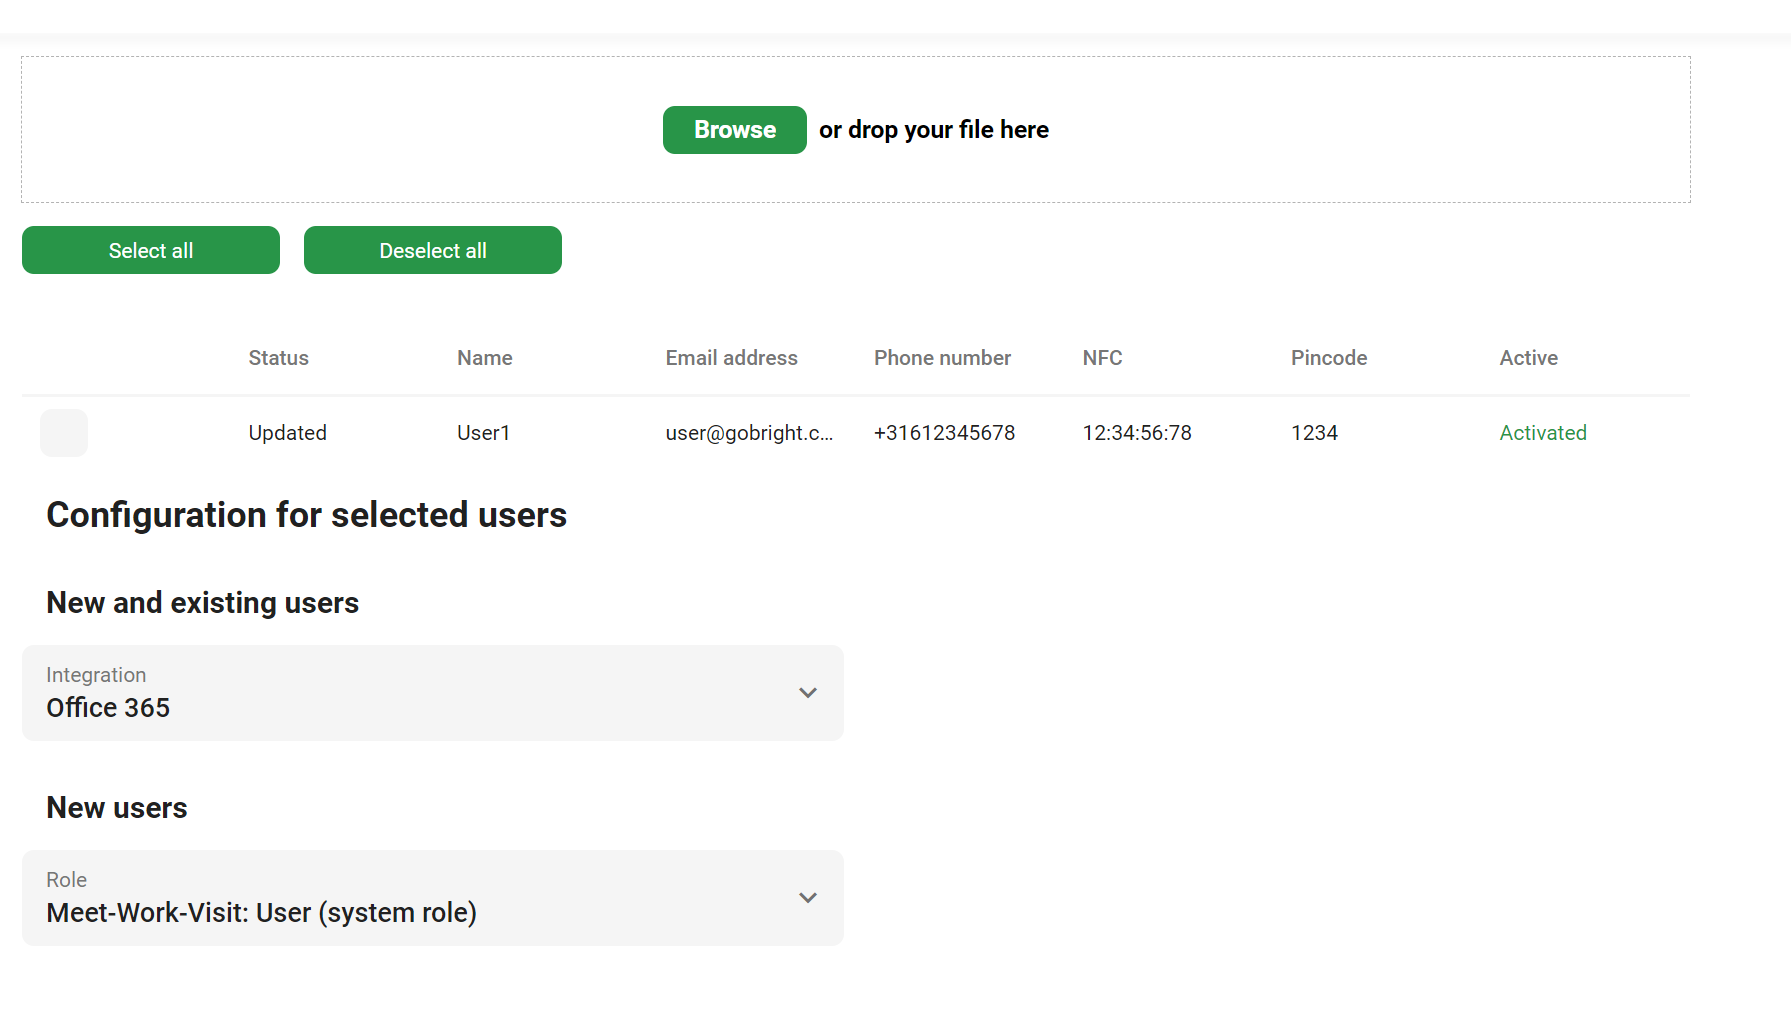
Selecting the integration and set the user role:
After uploading, all users from the csv-file are shown in a list.
You have to select a GoBright role for these users at the bottom of the list. (for more information, see User roles)
We also highly advise to set the type of integration you want to use, so your users are able to login with the integrated account, like Office365 SSO. (see: Configuring integrations)
Non-integrated user without password via csv (for GoBright Visit):
Note: It is not possible to set a password for your users using this file as this would be unsafe and not GDPR proof.
If you don’t want to integrate with your AD/Azure AD/Google, you have to edit every user after importing the csv-file to set their password in GoBright manually, and share the given password via your personal email to your users, or leave the user without a password.
GoBright Visit:
The only reason to add users without a password is to have the ability to send your users an email or text message informing them their visitor has arrived at the reception after they signed-in at the GoBright Visit kiosk
Synchronize users from the Active Directory or Azure AD
For an organization that uses Active Directory, it is possible to automate the process of creating/enabling/disabling users. It is required to have permissions to make changes on the server and to run PowerShell scripts. While GoBright does not make changes within the Active Directory it does use the information and copies it over in the portal.
To set up the synchronization an integration must exist within Settings > Integrations. The name from the integration will be used during the setup. When synchronizing users we can also apply user roles to existing organizational units.
Please refer to the Microsoft Active Directory integration article for more information and the setup.
Synchronize users using SAML within Azure Premium P1
If the organization makes use of Office 365 and has Azure Premium P1, we’re able to set up SAML. It is required to have permissions within Azure to set up an enterprise application. Users must be linked within the application to automatically be created within the system.
To set up the synchronization an integration must exist within Settings > SAML. The information from SAML must be entered here. New users will automatically receive a default role within GoBright. This means that user roles will either need to be manually configured or synchronized from Azure AD.
Please refer to the Single Sign-on/SAML2 integrations article for more information and the setup.