Visit Types Configurations
Visitor types are a way to segment your visitors and ask only information relevant for that visitor.
Typical visitor types are: Meeting, Job interview, Supplier, Friend/Family. For example: if you are ‘Friend/Family’ it is probably not be needed to fill in a ‘Company name’.
Visitor types always exist within a visitor registration configuration, if you need more information about the general configuration, please proceed to the visitor registration configuration article.
Manage visitor types
Log in to the GoBright portal with your manager account, and choose Settings > Visit > Configurations > Open your configuration > Types.
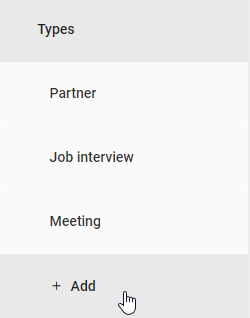
Now choose a Type to configure or add a new visitor Type with the + Add button on the left navigation bar.
Translation
If you use multiple languages in your visitor registration configuration, you might need to translate some terms. Most of the translation is already done, but the texts you specify yourself (like the name, custom titles, etc.) needs to be translated manually.
Use the ‘Translate’ button at the top, and a popup will show you which translations are needed.
General configuration
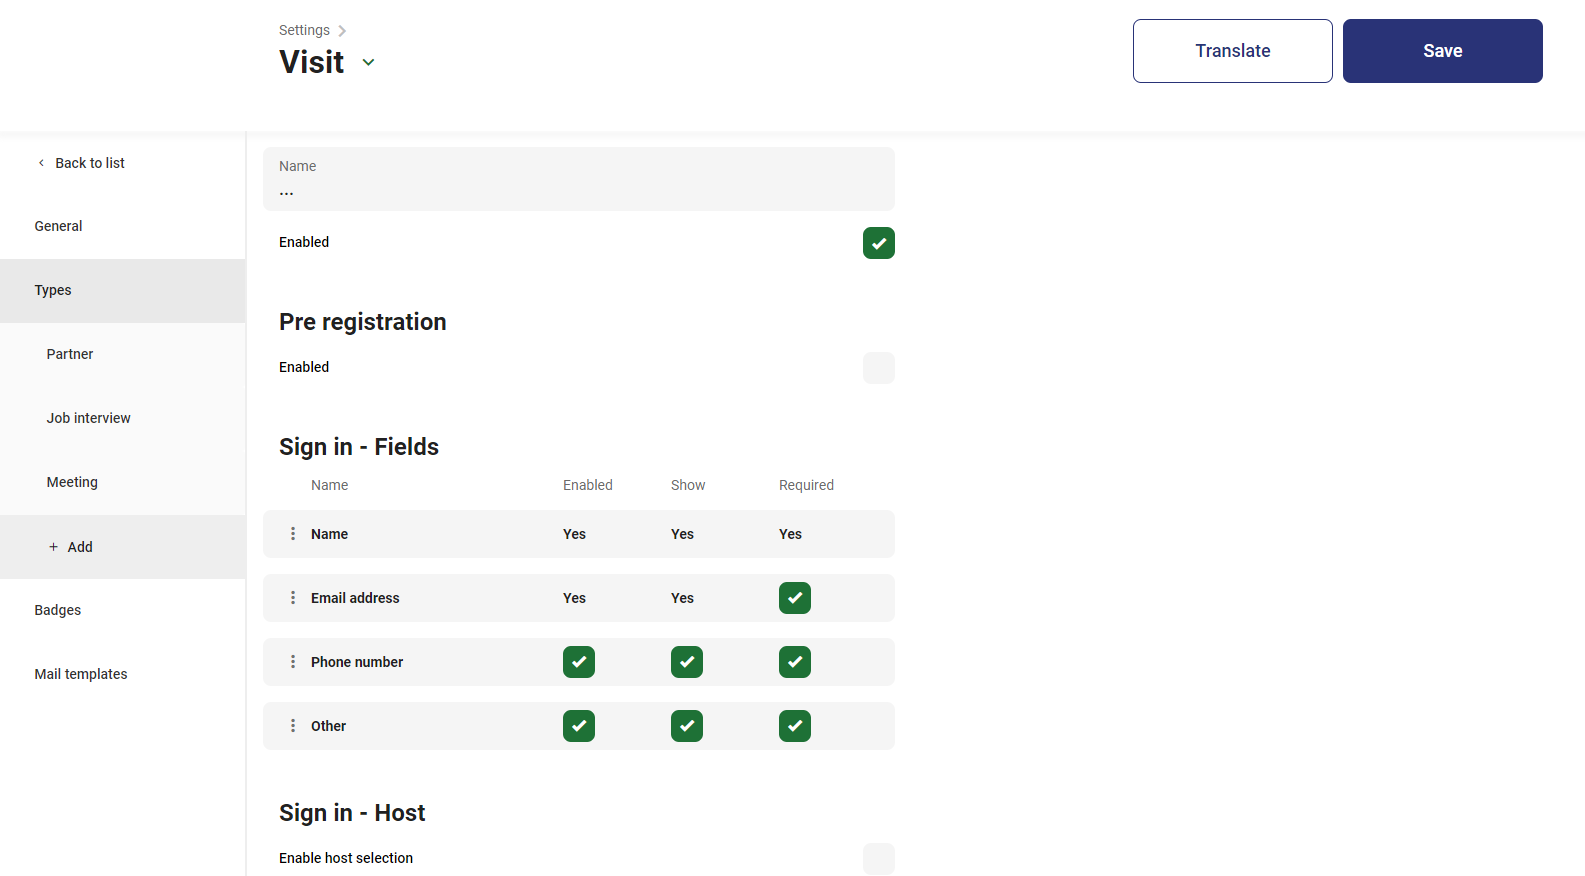
You can give a name to your visitor Type, which will be visible on your Visitor Display.
You can enable or disable a visitor Type to temporarily hide it from the Visitor Display.
Pre registration
This check-box decides whether the visitor type can be used for pre-registration by the host when an appointment is made. It lets the host invite attendees and at the same time send out an email with QR code that can be used at the digital reception.
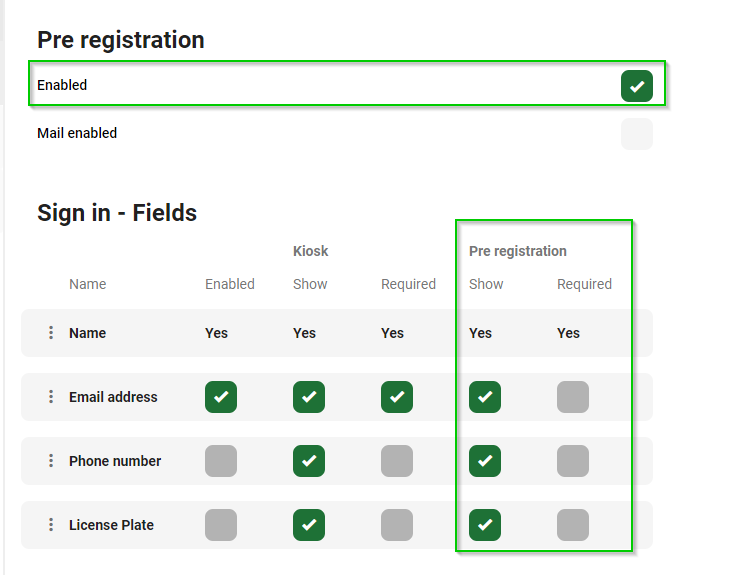
If you enable the pre registration you will get the option to enable a mail for this visitor Type. When you select the ‘Mail enabled’ check-box, you will get the option to select your mail template. If you are not able to select a mail template, please check if you have configured a mail template on the left navigation bar.
If mail is enabled an email template will be used for each visitor that is invited as a pre-registration attendee. These emails will be sent at fixed intervals to all attendees which can be configured here as well.
Lastly you can fill in a value to send a mail … before the visit date. There are three fields you can add value: days, hours or minutes.
The email will always be sent on the fixed time before the visit date which is configured here. If the visit date is the same day as the day the pre-registration has been made the email will be sent at the same time.
Sign in flow - Fields
Here you can define which fields needs to be filled by the visitor on the Visitor Kiosk. If you want to add more fields, you can add them in your General configurations.
- Use ‘enabled’ to use the field for this visitor type
- Use ‘show’ to show this field for this visitor type that needs to be filled by the visitor
- Use ‘required’ if you want this value to be filled in by the visitor at the Visit Kiosk
When you’ve enabled the Pre registration you can configure which fields you want to show on the Visitor Kiosk, or which fields are required to check-in as visitor.
Sign in flow - Host
Enable host selection
When enabled your Visitor is able to select a host (GoBright User). After your Visitor has selected the host a notification will be send to the host. The notification can be send by a push notification in the GoBright app, SMS or by email. Notification of the host will be discussed later on.
Allow visitor to skip this step
When enabled your Visitor can skip the step to select a host on the Visitor Kiosk.
Search host of booking by email address of visitor
This functionality will get the host by checking the pre-registration that is linked to the email address of your visitor.
Filter host by assigned roles
When enabled you will get an extra field with a drop down box. In the drop down box you can select one or multiple roles you want to assign to this Visitor Type. Which means that only the GoBright Users assigned to these role(s) can be found as host at the Visitor Kiosk.
Notify host by push notification
To be able to get a push notification on your mobile phone you will need the GoBright mobile app. You can find the GoBright mobile app in the designated stores of your smartphone.
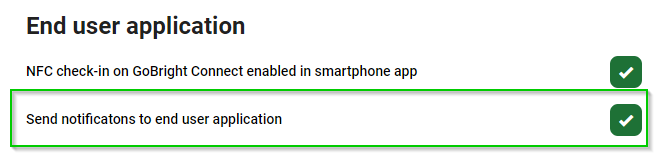
And you will need to enable the GoBright platform to send the push notification to end users. You can find this option under Settings > General > Heading: End User Application. You will need to enable the check-box for ‘Send notification to end user application’.
Notify host by sms
To be able to send a SMS from the GoBright platform your GoBright Users need to have a mobile number. You can check this field as admin under Admin Center > Users > Open the user.
To send a SMS the GoBright portal needs to have SMS credits. You can find your SMS credits under Settings > General > Licenses. SMS credits need to be purchased in bundles, please contact your reseller for more details on SMS bundles.
Notify host by email
Email notifications don’t need any additional licenses or configurations.
Sign in flow - Photo
Enables the possibility to take a picture from the visitor, for example, to print on a badge. This might be needed to assure that badges are personal.
Sign in flow - Confirmation
The confirmation screen is shown when the visitor is successfully registered. The options here allow you to customize the logo and texts.
To be able to select an image or text for your title or message you will need to check the box. For a custom logo please use an aspect ratio of 2:1 (width:height). For example an image with dimensions: 800px times 400px (width x height).
Sign in flow - Badge printing
This option enables you to enable badge printing, and select the badge. This way you can exclude specific visitor types from using badges, or print different badges for different visitor types.
Note that a badge will need to be created before this option can be selected. Please go to this article to configure the badge.
Sign in flow - Terms and Conditions
It’s possible to enable Terms and Conditions for certain visitors that will need to be accepted before a visitor can sign-in. Please check this article to learn more about how to configure your own terms and conditions.
When enabled you can select your Terms and conditions.
Custom terms and conditions logo, title and message
These options allow you to customize your own terms and conditions logo, title and message.
To be able to select an image or text for your title or message you will need to check the box. For a custom logo please use an aspect ratio of 2:1 (width:height). For example an image with dimensions: 800px times 400px (width x height).
Sign out
You can create a sign out flow for your visitors.
Custom sign out logo, title and message
These options allow you to customize your own sign out logo, title and message.
To be able to select an image or text for your title or message you will need to check the box. For a custom logo please use an aspect ratio of 2:1 (width:height). For example an image with dimensions: 800px times 400px (width x height).
Auto sign-off
When enabled your visitors will be signed off automatically after the given time of your ‘Auto sign-off mode’. You can choose ‘At’ a specific time or ‘After’ a specific amount of hours and/or minutes.
Notify host by push notification
To be able to get a push notification on your mobile phone you will need the GoBright mobile app. You can find the GoBright mobile app in the designated stores of your smartphone.
And you will need to enable the GoBright platform to send the push notification to end users. You can find this option under Settings > General > Heading: End User Application. You will need to enable the check-box for ‘Send notification to end user application’.
Notify host by sms
To be able to send a SMS from the GoBright platform your GoBright Users need to have a mobile number. You can check this field as admin under Admin Center > Users > Open the user.
To send a SMS the GoBright portal needs to have SMS credits. You can find your SMS credits under Settings > General > Licenses. SMS credits need to be purchased in bundles, please contact your reseller for more details on SMS bundles.
Notify host by email
Email notifications don’t need any additional licenses or configurations.
Generic Notifications
Send generic notifications after sign in and sign out
This option will send a generic email to one or more persons besides the host when a visitor signs in. This can be SMS notification or one or more email addresses.
When the check-box is enabled, you will find two fields. One to enter a phone number for SMS notifications, and the second field can be used to fill in one or multiple email addresses with a comma.
Next
Proceed to the visitor badges article to get the details about designing and printing badges.