Settings & resolutions
Before creating any content it’s important to know the resolution of the device. For most standard displays this is full HD, which is 1920 wide by 1080 pixels in height. While the resolution does not have to be configured within the template, the content is based on the resolution.
The resolution is displayed on the top of the template next to the eye symbol.
Template settings
Before placing the elements within the template, the best practice is to go over the general settings first. This influences the style, formatting, and transitions between other templates. Below is an overview of the settings that can be viewed by clicking on the wheel in the top-right corner:
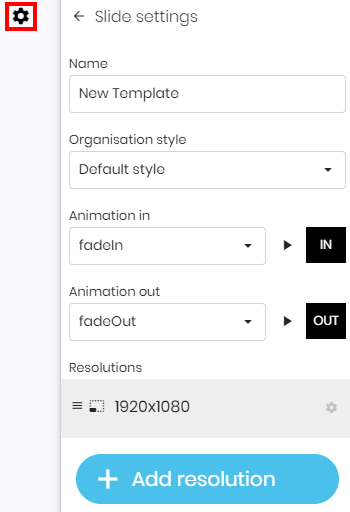
- Name: The name of the template.
- Organization style: The default style of elements that are added to the template.
- Animation in: The animation that plays when the template enters the screen
- Animation Out: The animation that plays when the template exits the screen
- Resolutions: The resolution(s) that the template supports
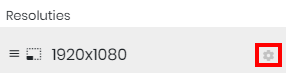
It’s possible to create a single template that supports multiple resolutions. This is useful for content that is being displayed on full HD and 4K resolutions, or other resolutions that the device supports. Aside from that, the background color of the template is configured for each separate resolution. In order to change these settings, press the wheel next to the specific resolution:
Resolution settings
When editing a resolution it’s important that the width and height will fit on the display. Next to fitting zones one or more channels and/or zones are being displayed. We’ll be discussing these under the Channels & Zones section here but the template will need to fit at least on one zone.
The background color can be adjusted by using a single color or by making use of a gradient. This can either be a linear or radial gradient and is selected in the drop-down menu. Lastly, a background image can be used as an alternative.
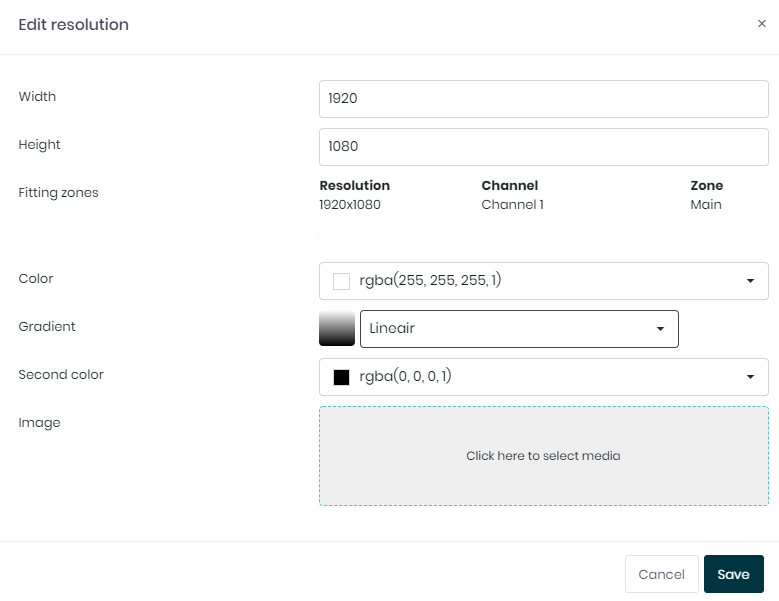
After the configuration is complete, press save to close the screen apply the settings. We’re now ready to add items to the template.