Visit Terms and Conditions Configurations
It is possible to enable terms and conditions for certain visitor types that will need to be accepted before a visitor can sign-in. You can add multiple terms and conditions and supported languages.
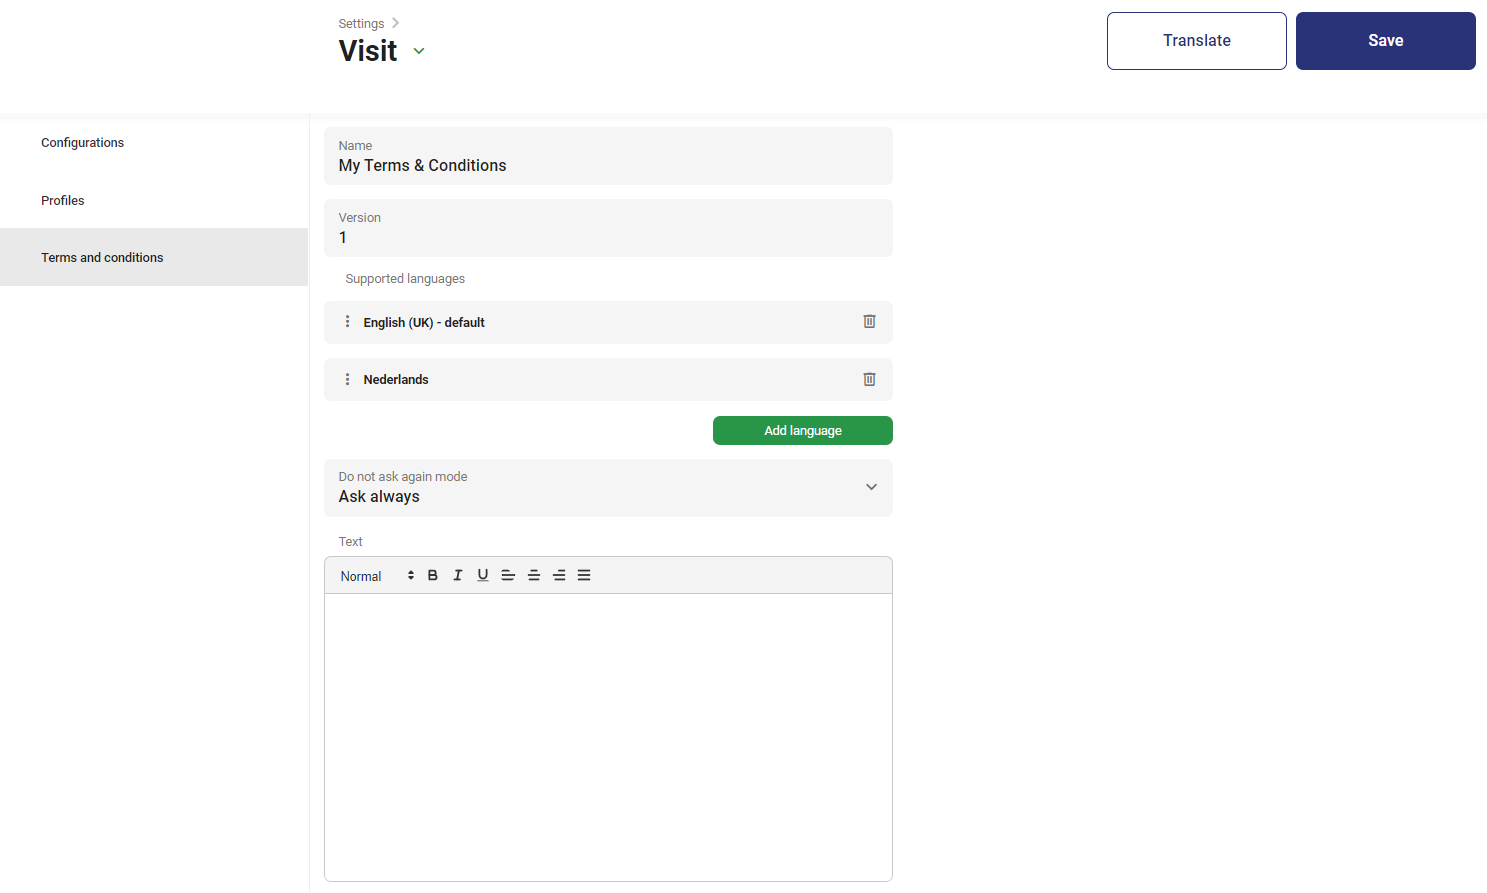
Name
In this field you can give a name for your Terms and Conditions template, which can be linked to a visitor type under Settings > Visit > Configurations > Open your configuration > Types > Scroll down to “Sign in – Terms and conditions > Enable Terms and Conditions > in the ‘Terms and conditions enabled’ field you can select your template.
Supported Languages
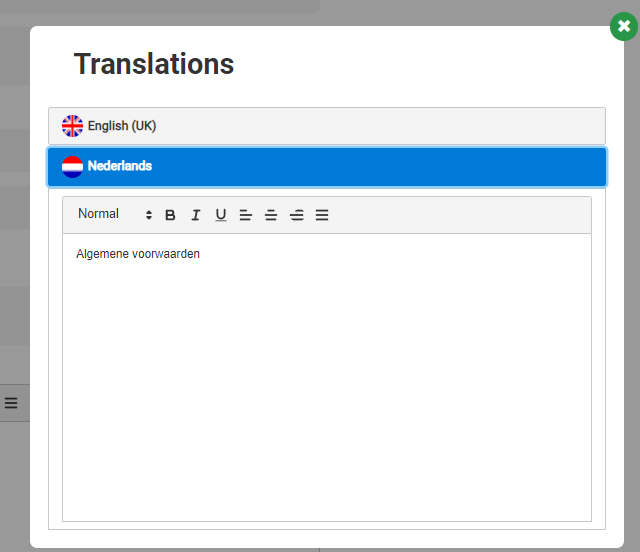
By default the language is set to English (UK). You can add a language with the green ‘Add language’-button. After you’ve added one or multiple languages, you need to fill in the translated text. Press the ‘Translate’-button at the top > Click your language > Paste your text here:
Do not ask again mode
In this field you can select the iteration of times the visitor is prompted with your terms and conditions.
- Ask always: your visitor will always be prompted to read and confirm your terms and conditions
- Ask after … days: your visitor will only be prompted to read and confirm your terms and conditions after your configured amount of days
- Ask once: this template will only be prompted once
Assign your Terms and Conditions to your Visitor Type
To use your Terms and Conditions you will need to assign this to each Visitor Type. Those Visitor Types will be prompt with your Terms and Conditions, when they select their Visitor type or sign in with their QR code at your Visitor Kiosk.
This can be done with the following steps:
- Settings
- Visit
- Configurations
- Open your configuration
- Types > Scroll down to “Sign in – Terms and conditions
- Enable Terms and Conditions
- In the ‘Terms and conditions enabled’ field you can select your template.
Next
Go back to the overview article to check what you still need to configure for your Visit module. Or proceed to the next step to configure the profile for your Visit module.